Customers
Your customers are the people and companies you work for. Add them once, and they'll be available everywhere — in your logbook, invoices, and reports.
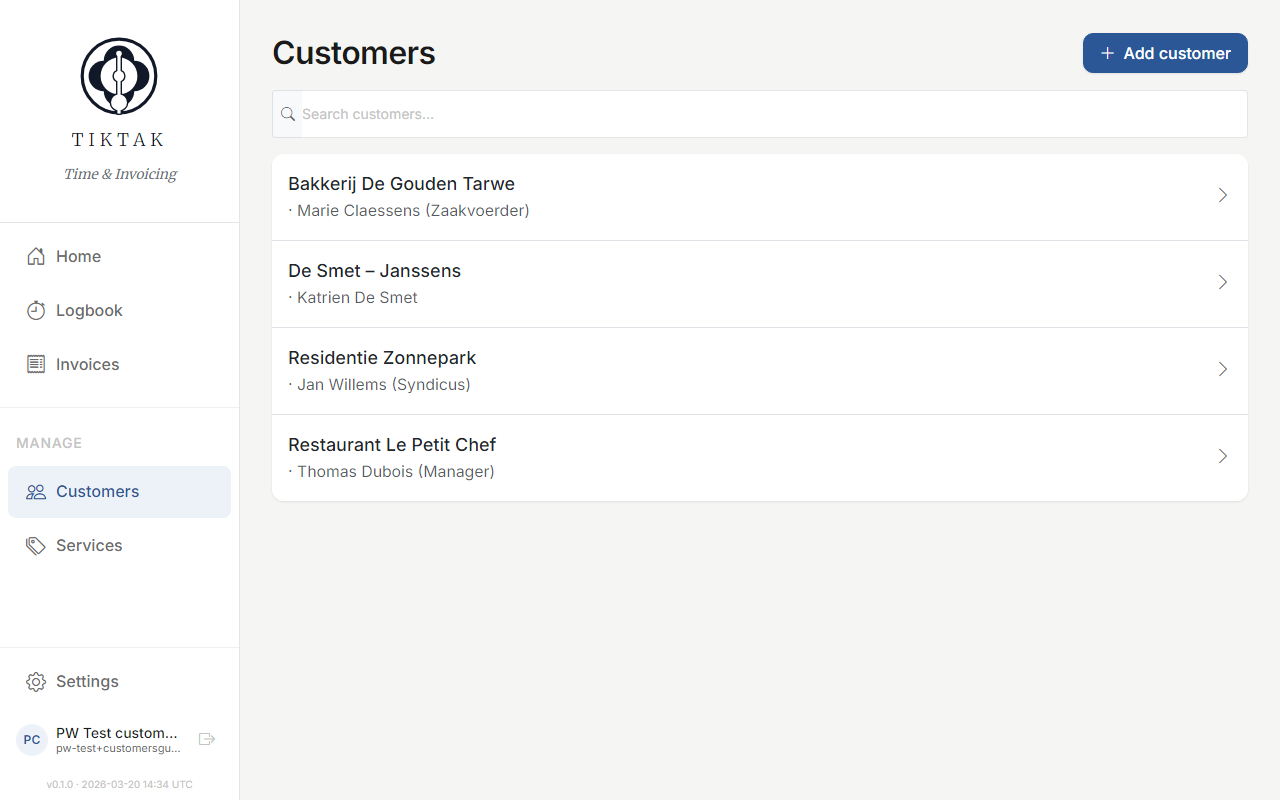
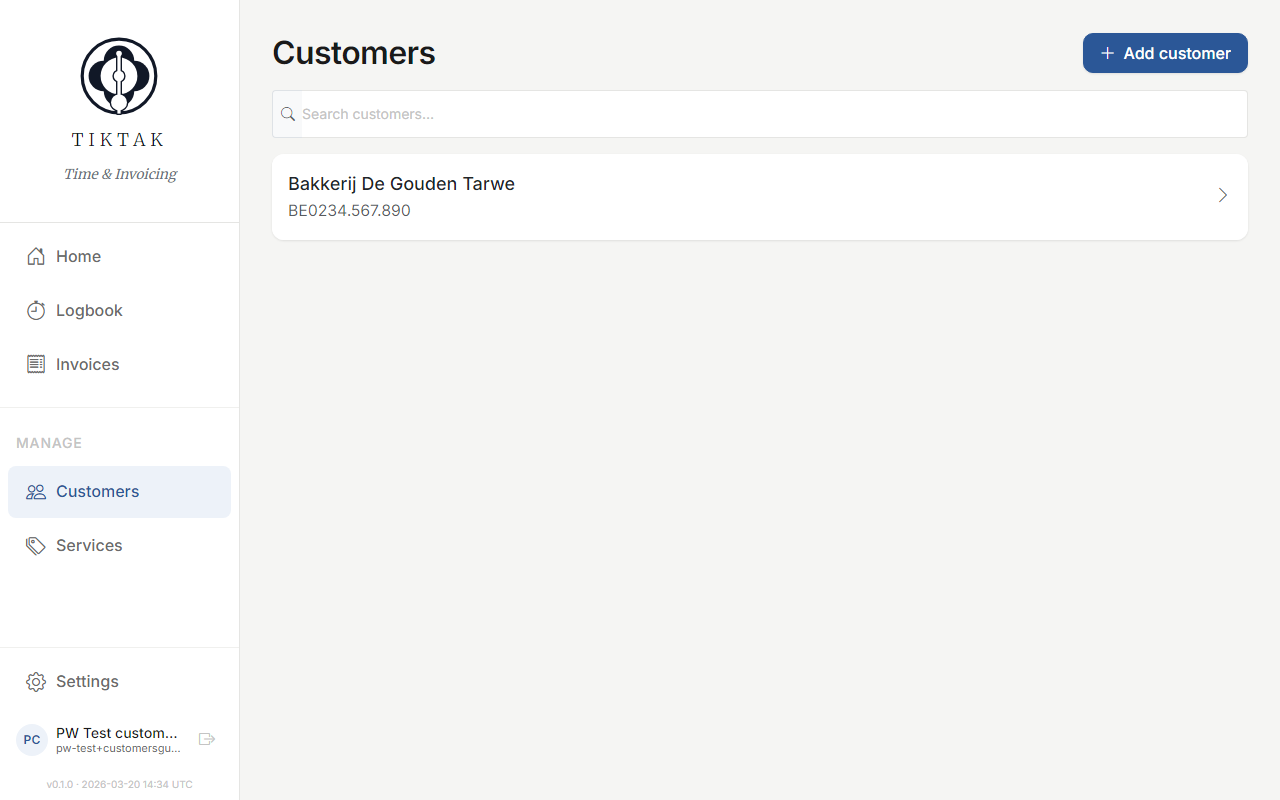
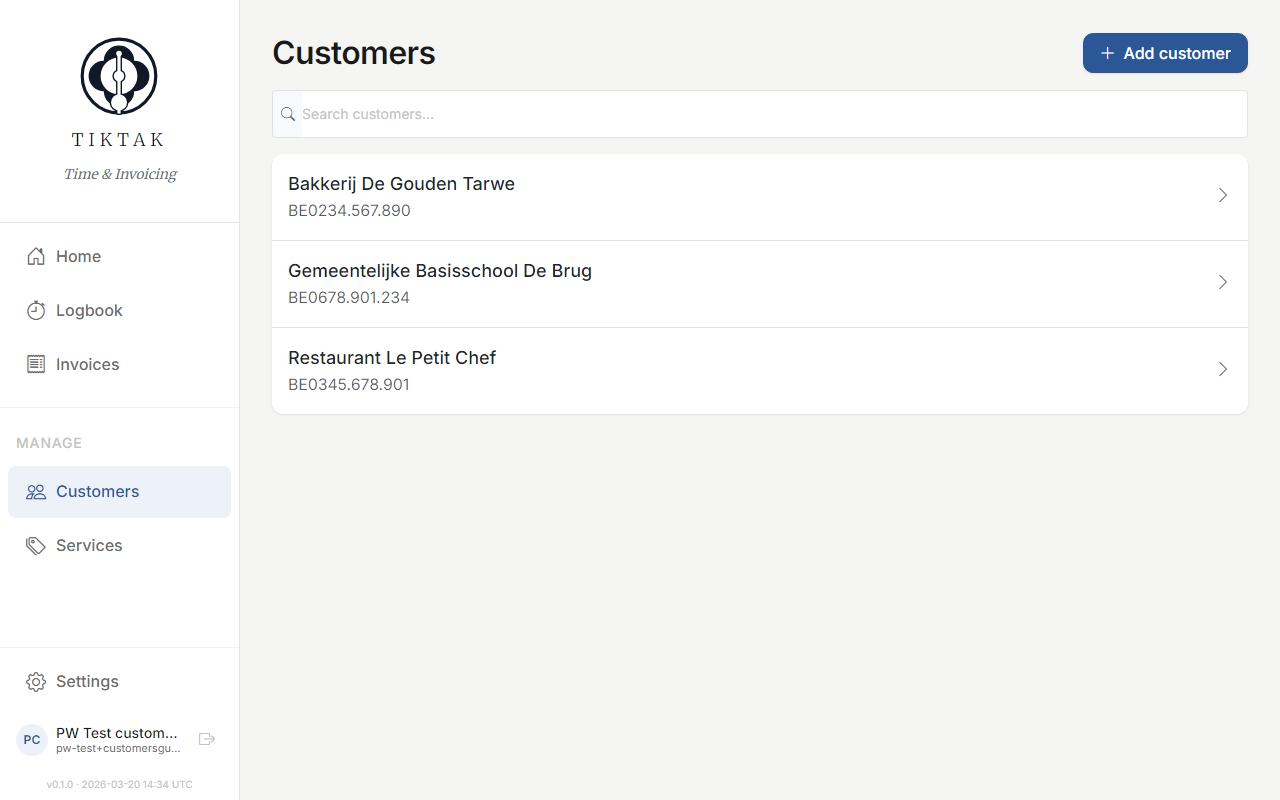
Customer list
The Customers page shows all your active clients. Click any customer to see their full details, including contact info and recent activity.
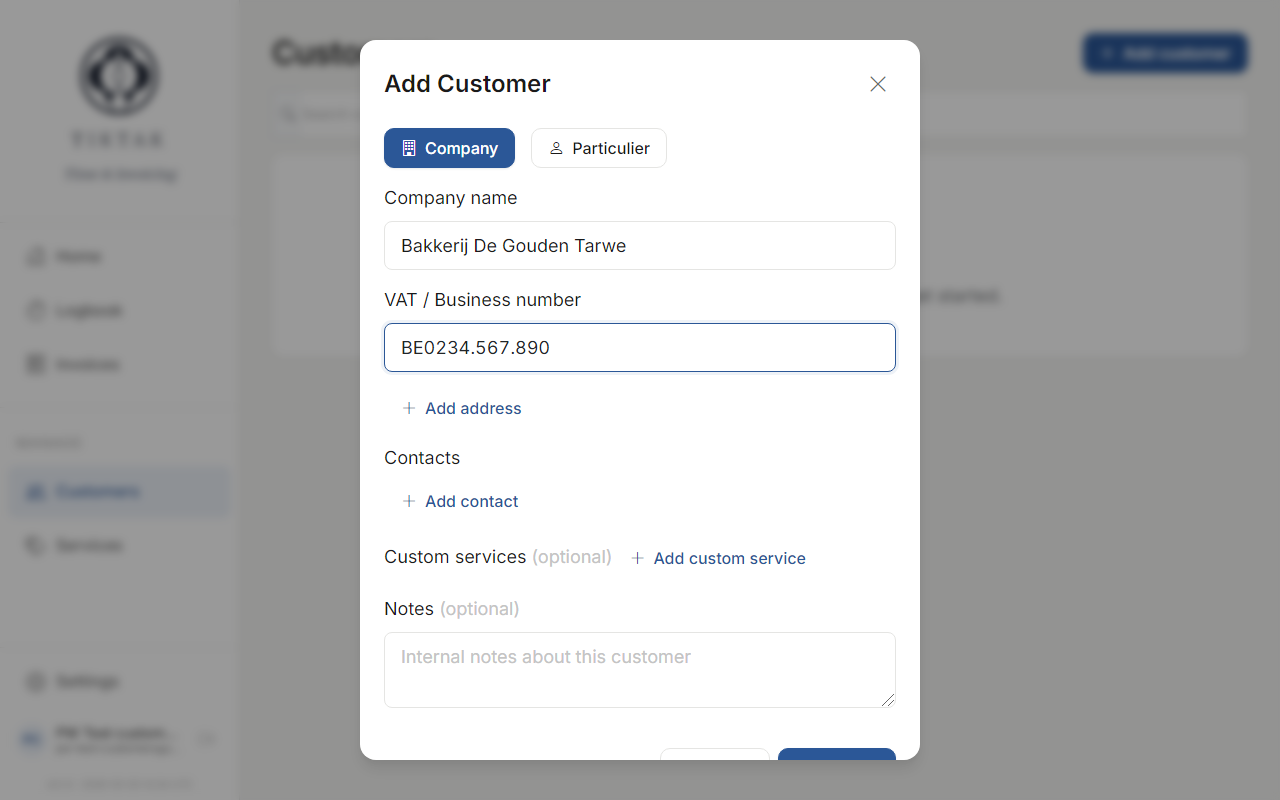
Adding a customer
Click the + Add button in the top right to create a new customer. Fill in the company name, VAT number (optional), and email address.
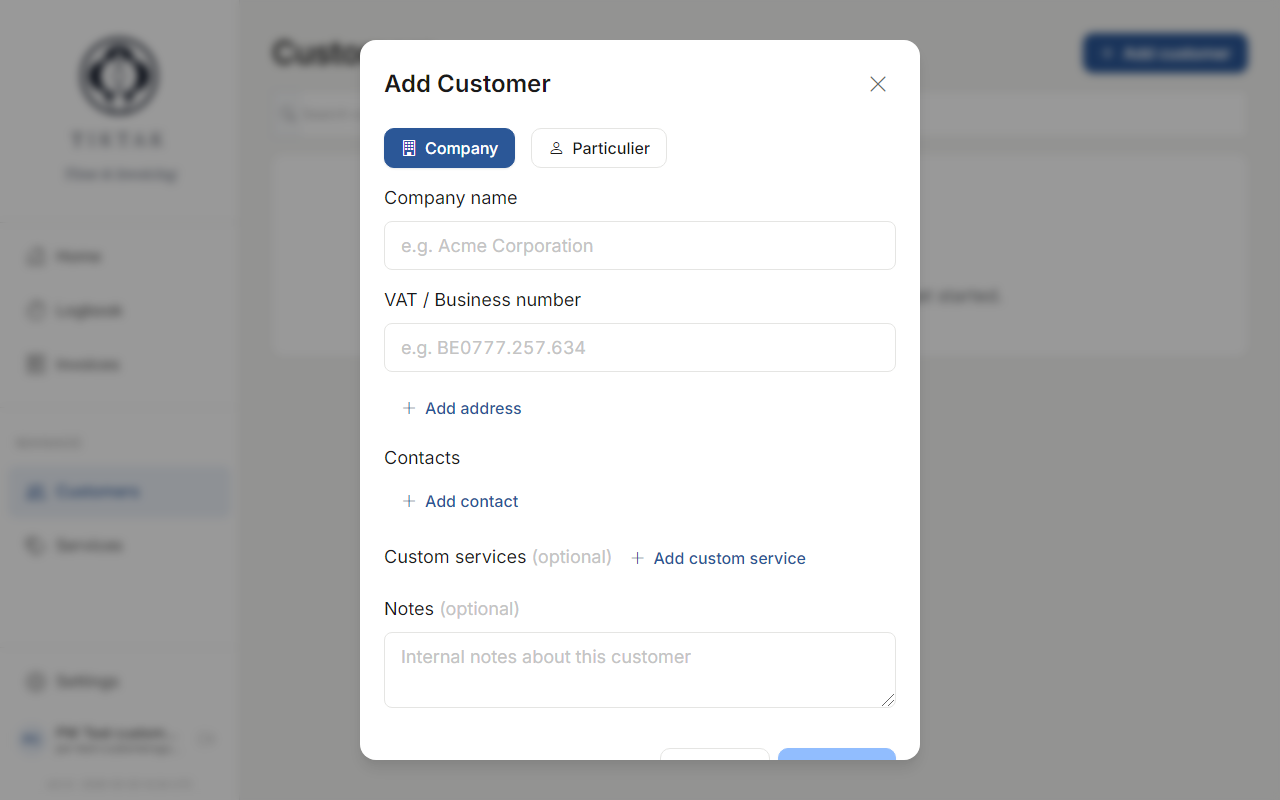
Tip: Toggle the "Company" switch off if your customer is an individual person rather than a business.
Editing details
To edit an existing customer, click on them in the list and then click Edit. Make your changes and hit Save.

Contacts
Each customer can have multiple contacts. This is useful when you work with different people at the same company. Add contacts from the customer detail page.

Search & filter
Use the search bar at the top of the customer list to quickly find customers by name. The list filters in real time as you type.
Archiving
Don't delete customers you're no longer working with — archive them instead. Archived customers won't appear in dropdown lists when logging time or creating invoices, but their history is preserved.