Getting Started
Create your account, log in, and configure your company details — you'll be tracking time in under two minutes.
Logging in
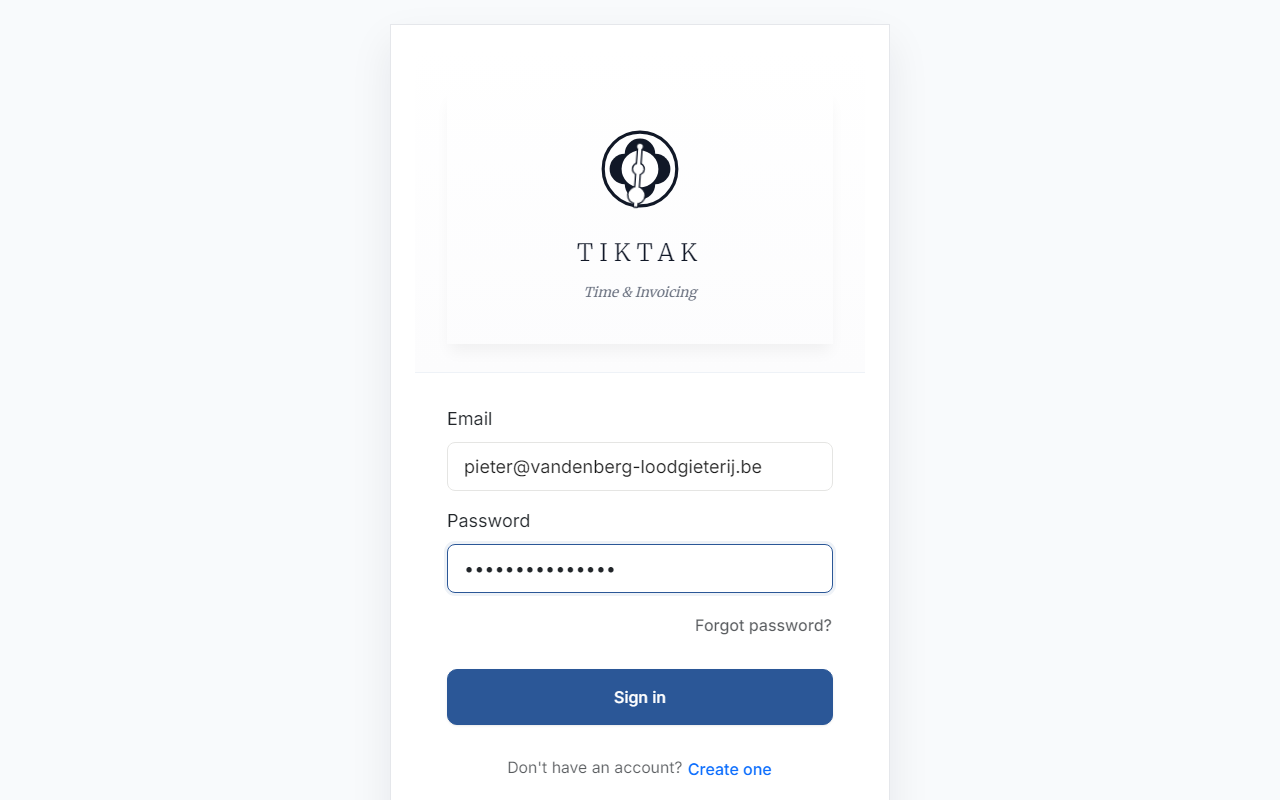
Head to app.tiktakme.com to get started. You can sign in with Google, Microsoft, or create an account with your email address.
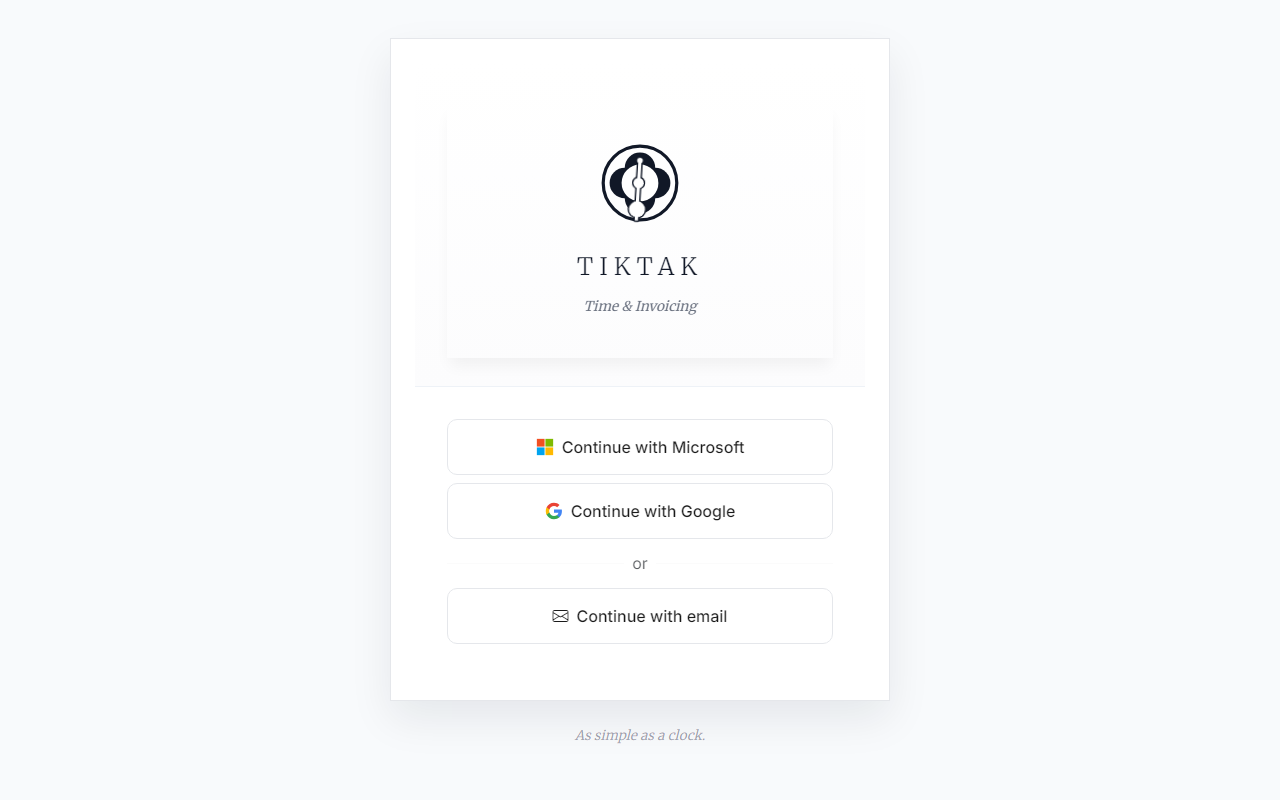
If you choose email, click "Continue with email", enter your details, and you'll receive a confirmation.
The Track screen
After logging in, you'll land on the Track screen — your daily time-tracking hub. On the left you see your customer list. Select any customer to reveal their service cards and today's logged time on the right.
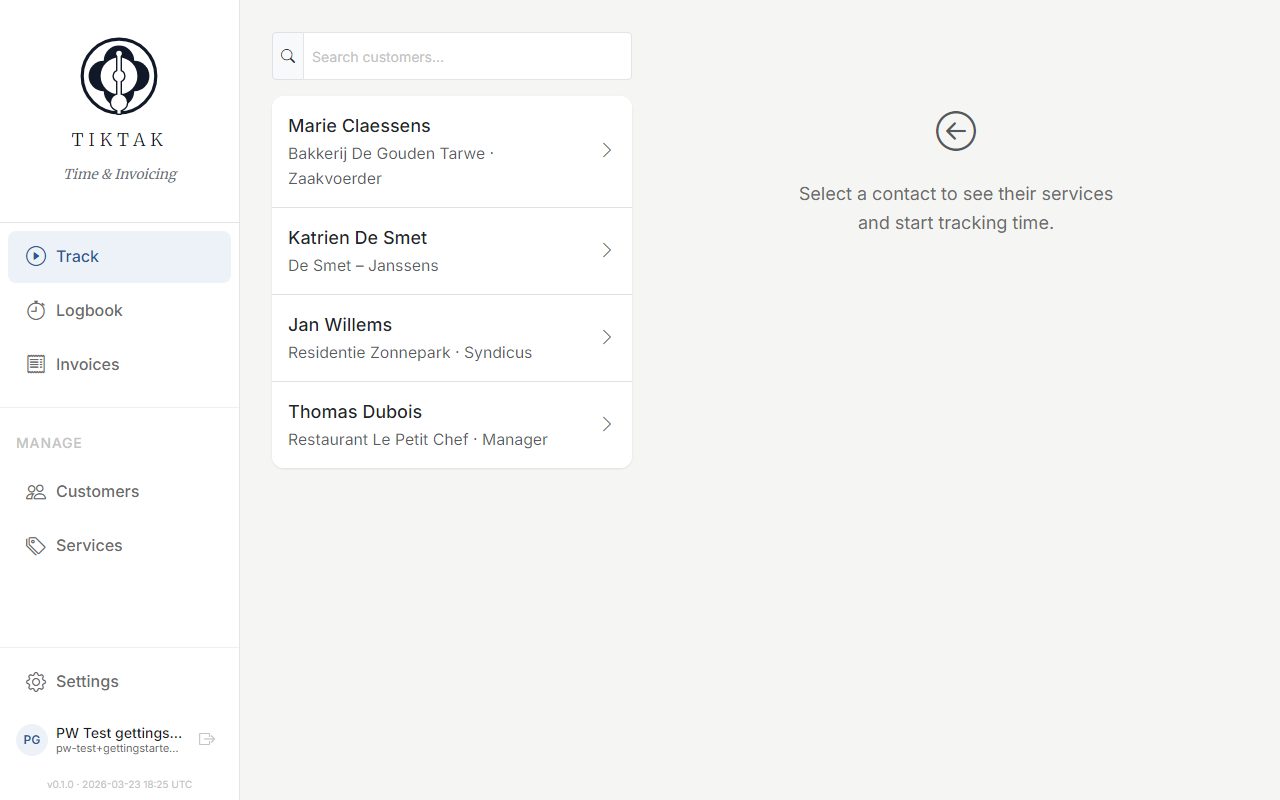
Once you select a customer, the right panel shows two things: a service grid with all the services you can track time on, and a "Today" section showing every entry you've logged today for that customer.
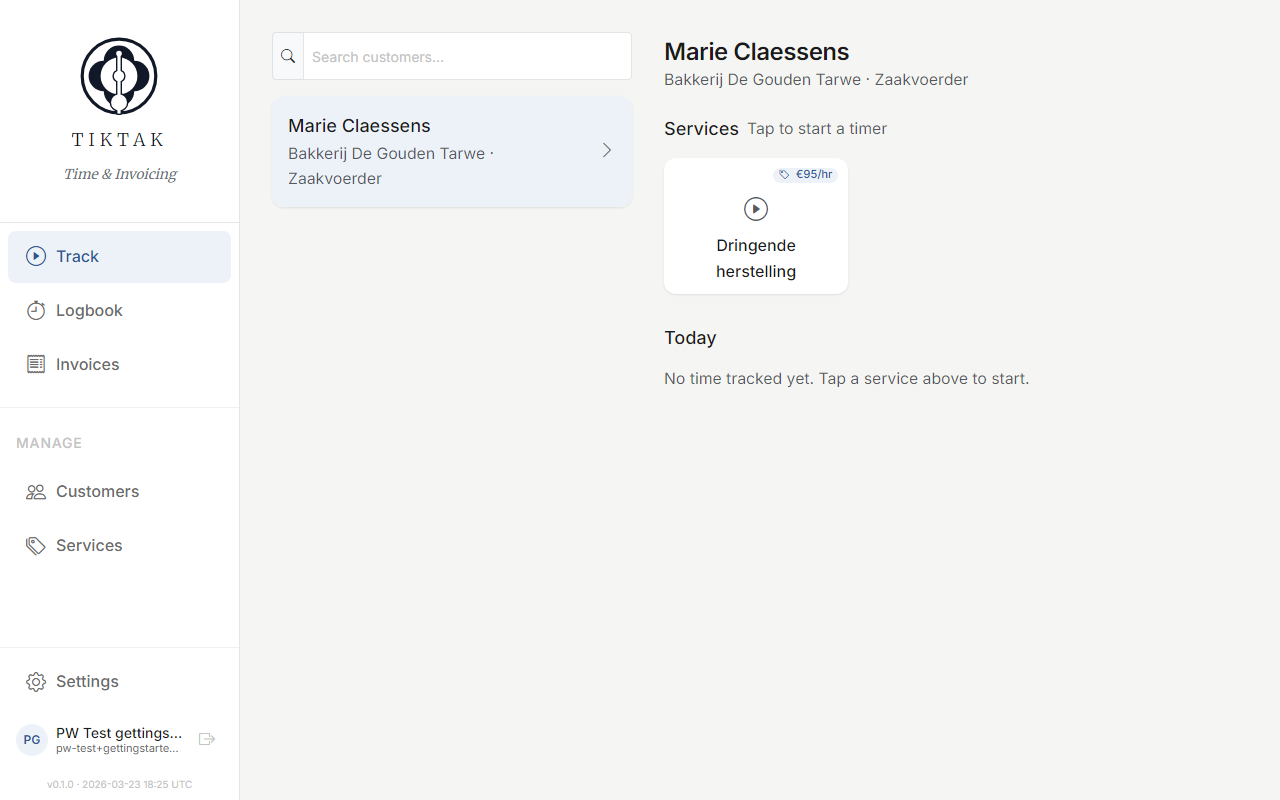
Tip: Tap any service card to start a timer or log time manually. You can run multiple timers at once for different customers — they'll all be visible in the timer bar at the top of the screen.
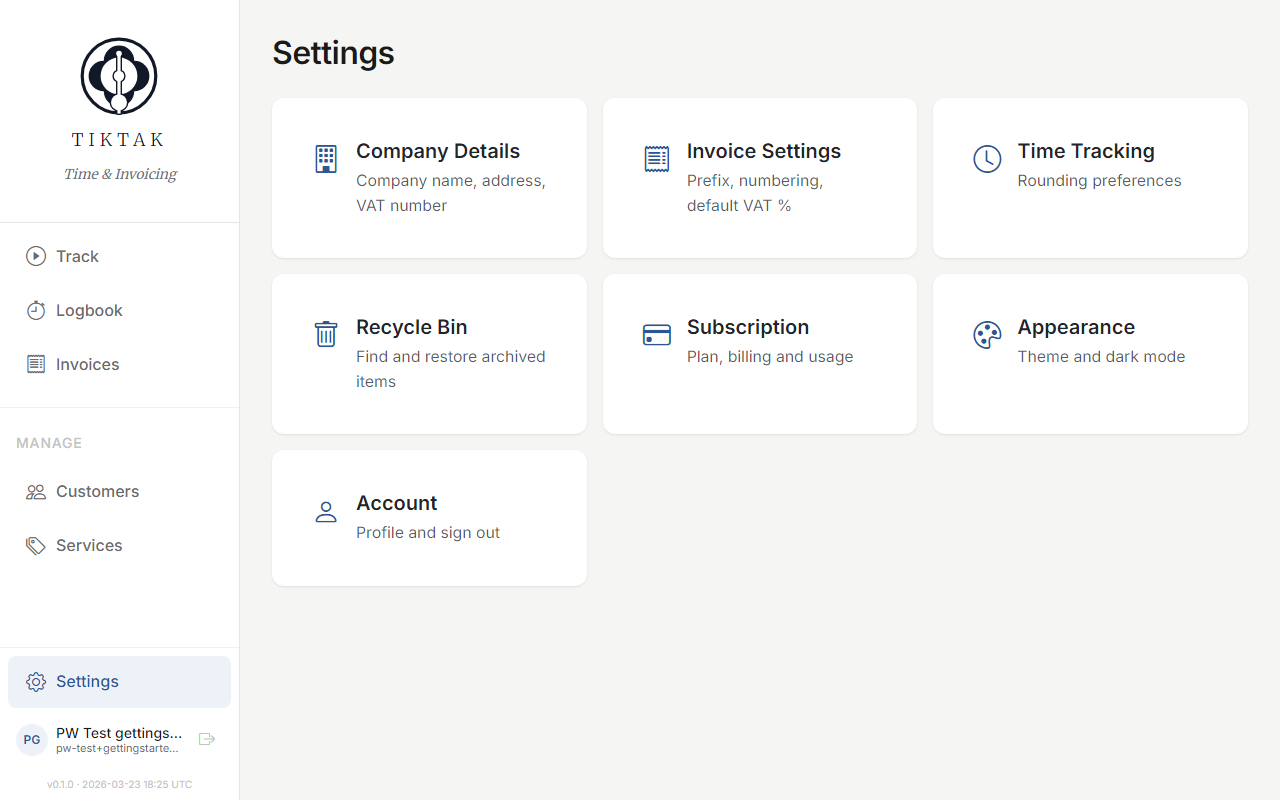
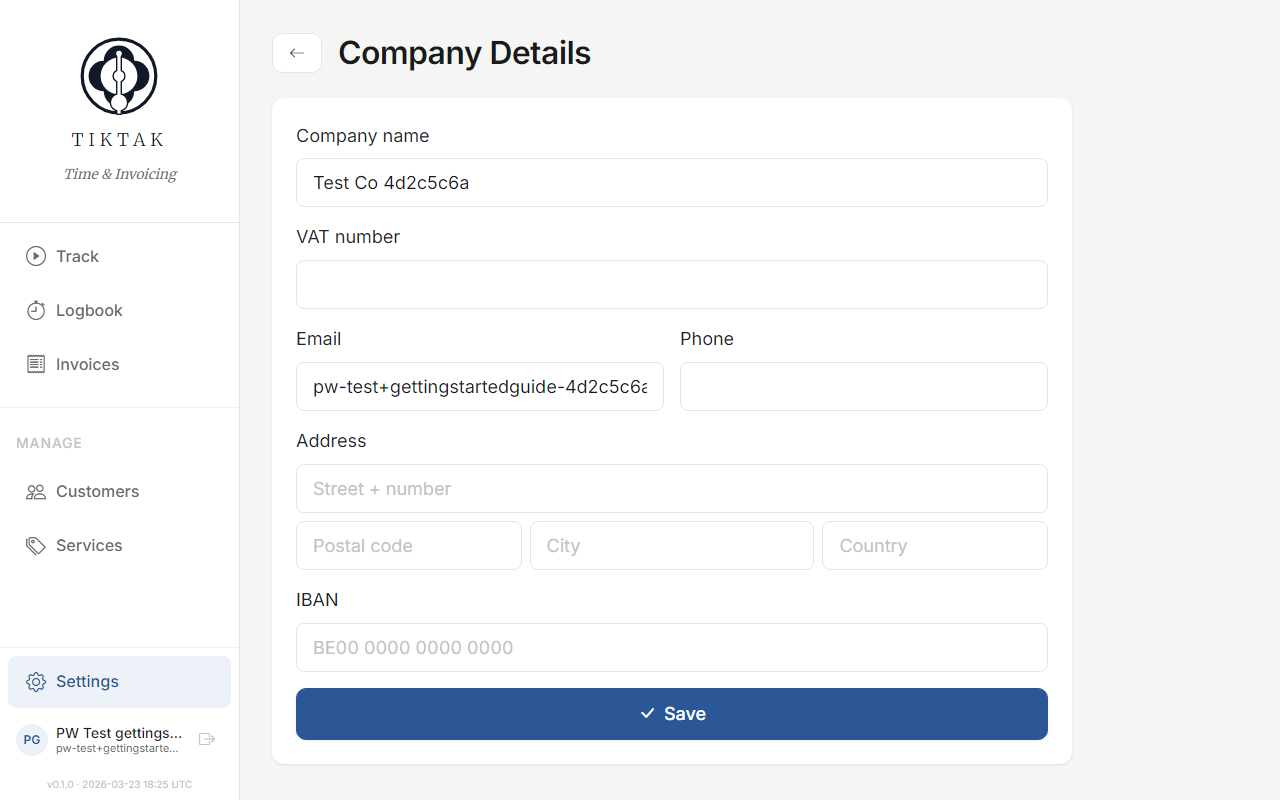
Company settings
Before sending your first invoice, set up your company details. Go to Settings and fill in your company name, VAT number, and address. This information appears on all your invoices.
What's next
You're all set! Here's the recommended order to get everything configured:
- Add your customers — the people and companies you work for
- Define your services — what you charge for (hourly or fixed)
- Start tracking time — log your first hours
- Create an invoice — turn logged time into a professional invoice